It’s the lens, silly!

As you may be pondering what to do if you’re looking to buy your first DSLR, or if you’re thinking about upgrading your current DSLR, here’s something to remember:

IT”S THE LENS, SILLY!

Think about it…

Your image must pass through your lens to get to the image sensor in the camera in order to create your image file that you use to print your picture.

If the lens isn’t up to the task… well…

So, as you’re contemplating what to do, focus (pun was not planned, but it works, so we’ll keep it) your attention on the lens, and if you’re wondering where your money should go, it’s the Frog’s humble opinion that the answer is the lens.  Get the best lens you can afford.  Don’t forget to consider refurbished and used lenses to stretch your dollars.

If you do your research on DSLR bodies, you’ll find that some of the “amateur” or “prosumer” bodies have the same image sensors as the “pro” bodies, or maybe they have the “old” sensor that was the “new” sensor six months or a year ago.  The most significant difference in many cases is that the amateur or prosumer bodies don’t have all of the controls, options, bells and whistles that the pro bodies do – and they’re a lot cheaper.  As was discussed in the Buying a DSLR post, think about what you photograph and what you absolutely need in a body first, then think about what you want.

And now, we’re suggesting that you think about the lens just as much, if not more.  Check out the post on Camera Equipment for Basic Travel Photography, and also the post on All-in-One versus Prime Lenses for more food for thought.

Don’t forget to visit your local camera store as part of the process!  We need small businesses to survive and thrive.

Because…

IT’S THE LENS, SILLY!
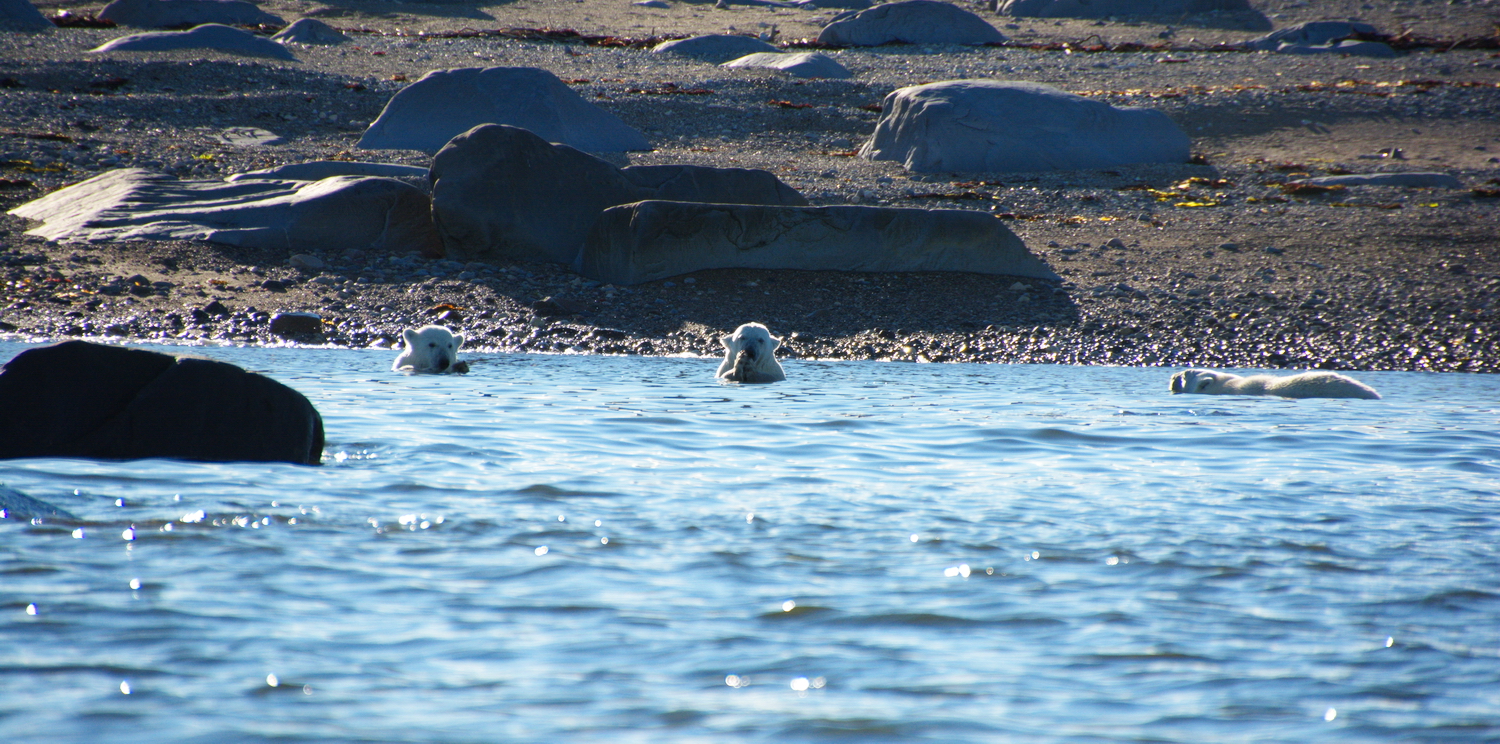
Is VR – IS – OS a must for your lens?

There are a lot of different names out there for lens stabilization features.  VR, or Vibration Reduction.  IS, or Image Stabilization.  OS, or Optical Stabilization.  These are just a few of them.

They all do the same thing.  They help the human condition that is lens shake.  They are fancy devices that can help you take a picture when you don’t have enough light by allowing you to use a lower shutter speed.  You can read more about the technical aspects here – we’re not going to even try to explain the science and physics behind it…

These features can be your best friend in some situations.

They also add $$ to the price of some lenses (new or used).  With some of the newer lenses on the market, you don’t get a choice.  There’s some great used glass out there without VR – IS – OS that can save you a lot of money as you work on filling up your camera bag.

But, do you need them?

After all, most of us lived without these features until very recently and still managed to get some great pictures throughout our lives.

The answer is maybe…

  • Let’s say you’re photographing a soccer game late in the day, and it’s getting dark.  VR – IS – OS will allow you to take a picture at a slower shutter speed – but that’s not going to do you a lot of good, because you’re photographing fast action, and it’s all going to be blurred.  In this case, you’re better off cranking up the ISO as much as possible within the performance limits of your camera.
  • Let’s say you’re in a museum that doesn’t allow flash photography or tripods.  Here, VR – IS – OS will definitely help you!
  • You’re at home, and your pet is sleeping in one of those contorted and twisted positions that defy your imagination and logic, and you know the flash will wake them up.  VR – IS – OS is your friend in this case.
  • Let’s say you’re photographing a scenic valley and you’re using your friends Mr. Tripod and Ms. Cable Release.  Turn your VR – IS – OS off!  In some cases, it will try to work on the tripod and cause vibration.
  • You’re shooting detail in the rocks in a canyon with your telephoto lens and you don’t have a tripod.  VR – IS – OS is your friend here.
  • You’re on vacation and your tripod didn’t fit in your suitcase.  More likely than not, somewhere, sometime during your trip, VR – IS – OS may be your friend.
  • It’s a sunny day and your shutter speed is well above 1/length of lens (for example, you have a 300mm lens and your shutter speed is 1/500).  VR – IS – OS is overkill.

So, now that we’ve established it’s a definite, absolute “maybe”, think about what you shoot most of the time and consider your lens options before you buy that new or used lens.

You might decide that you really need VR – IS – OS.  Or, you might decide that you can live without it and be able to get more bang for your buck.

Some of the Frog’s lenses have it.  Some don’t.  And he does just fine…


Growing the Image Galleries

Growing the image galleries at Laughing Frog Images isn’t happening quite as fast as was hoped.  There are two good reasons for that.  First, this isn’t my day job.  The second is explained in this post.

There are slides and negatives that go back longer that I care to admit, because I can’t be that old!  Over 30,000 of them, as a matter of fact.  There are planes, scenic views, parks and places, trains, and things I probably don’t remember that are waiting to be rediscovered.

We’re scanning slides at 5000dpi and negatives at 7200dpi, and quite frankly, it’s a slow process.  These are archival scan settings to give you the widest range of product choices when you shop at Laughing Frog Images.  If you decide you want that killer shot from the Colorado National Monument as a 30″x40″ print and you found out it was scanned at 2400dpi, you wouldn’t be too happy with us.  (You’re going to have to wait for that gallery, by the way.)

To give you an idea of what’s behind growing the image galleries, here’s a snapshot of the process:

  1. Get the scanner going.
  2. Cat-proof the work area.  This is perhaps the most important step.
  3. Proof the slide or negative and make sure it’s worthy of steps 4-11.
  4. Clean the slide or negative.  While this sounds obvious and simple, we’re looking at them through a loupe and using a fine brush and blown air because it’s absolutely amazing how big that speck you can’t see with the naked eye is once it’s scanned!
  5. Load the slide tray or negative holder.
  6. Each image scan takes 4 to 5 minutes for each slide or negative.
  7. Wait for the software and computer to process the image file ( we’re scanning to .dng format).
  8. Image data is added to the file before the slide or negative is returned to storage.
  9. The image goes into a temporary folder to await the next step.
  10. The image is proofed.  Any final cleaning takes place here, as well as any adjustments or corrections.
  11. The image is then filed awaiting use.

As we intend to post image galleries and sub-galleries that are related to each other as opposed to posting random images here and there throughout the site, you can start to see that it takes a while to make all of this happen.

Scan400 ac pe

This image is part of a gallery that will feature the former Western Pacific Railroad lines from Reno, Nevada to Sacramento, CA.

Obviously, it’s a lot easier when the starting point is a digital image file!

We’re hoping to get some additional galleries up of steam engines that ran in the 1980’s in time for the holidays, because if you don’t love steam engines – you probably know someone who does.  And they have walls.  Or drink coffee.  Or tea.  They might even have an iPhone or an iPad.  And we might have just the image for them!

Be patient with us as we grow the image galleries!  It is happening…

iPhone Case Photos!

I purchased some iPhone cases for gifts and thought I’d share photos of them with y’all, especially since there’s a sale on.

Of all of the photographic stuff I have, none of that stuff includes a copy stand, so these photos were taken with my Lumia Icon phone (more on that someday). They’re not anywhere close to perfect – but they do give you an idea of what could be wrapped around your iPhone (or Galaxy S4 or iPad).  They also make great gifts!

Somewhere out there, someone is saying “Why doesn’t he have a copy stand?”  Well, unless you do miniature photography or similar small subjects, there’s not a need for one.  It would be a toy for me at this point.  But… I do have some other samples to share, so… maybe…

Anyway, back to the subject at hand.

From top to bottom, here are the iPhone case photos:

  1. BNSF Pasadena Subdivision Local Freight.  Glendora, CA.  This was taken in 2013 – Santa Fe merged into BNSF almost 20 years ago!
  2. Union Pacific westbound doublestack train on the former Western Pacific Railroad crossing the famous Keddie Wye in Plumas County, CA.  This one is not yet in the galleries.
  3. The view across Kauai’s Nawiliwili Harbor.
  4. Cape Neddick Light (a.k.a. Nubble Light) in York, ME.  And yes, if you are wondering, I did get wet just after I clicked the shutter.

pasadena sub local iPhone case

keddie wye iPhone casekalapaki beach iPhone case nubble light iPhone case

If you’ve found that image that you’ve been wanting, and have needed an excuse to buy it, now you have it (at least if we have a case for it)!

There’s a video on the Laughing Frog Images YouTube Channel that shows you how to create your own case, or how to create a gift for someone who deserves something special.

Think of the conversations you can have about your case!  The stories you can tell about where you were and how you took the photo!  (I won’t pretend it doesn’t happen – just remember to tell them you got it from Laughing Frog Images at some point!)

Or, just think of the smile you can bring to someone’s face when they unwrap their case.

Thanks for looking!


All-in-One versus Prime Camera Lenses

Over the years, lens technology has improved and lens size has decreased.   Following on our post about buying a DSLR, we’re going to talk about camera lenses – specifically All-in-One versus Prime Lenses.

Way back when, if you wanted to cover the range from 28mm to 200mm when shooting film, you were probably carrying a 28mm lens, a 50mm lens, a 28-70mm and a 70-210mm lens.  Most high-quality zoom lenses were in the 3X range – that is a range of three times their base number.  Examples include 28-70mm and 70-200 or 70-210mm.  Yes, there were “superzooms” out there with 5X and 10X in those days, but they were known to be compromised in their quality – and if you wanted serious quality, you were carrying around prime lenses.

A prime lens is a lens with a fixed focal length – 28mm, 35mm, 50mm, 85mm, etc.  Most of the time, they are going to give you better results than a zoom lens or a superzoom lens.  I have 35mm and 50mm prime lenses that I carry on a regular basis – they are fast (f1.8), small, and light.  They are relatively “cheap” – some call them “fantastic plastic”, and can’t be beat for interior or low-light photography.

Today – it’s common to see lenses in the 10X to 15X range, such as 18-200mm and 18-270mm or 18-300mm.  These lenses typically have an optical stabilization or vibration reduction feature as well.  Their quality has improved to the point where they give good to great results throughout their zoom range – and, if you’re not trying to make 30″x40″ prints, they’re great lenses.  In general, the longer the zoom range, the more compromises (vignetting, pin-cushioning, distortion) you’ll need to be aware of to deal with.

Today, many cameras at retail stores are sold as “kits” – you get the body plus an 18-55mm zoom and a 55-200mm or 55-300mm zoom.  Most everyone will find these kits more than adequate for their purposes and needs.  If you go to your local camera shop or one of the big camera retailer website, you might find a choice in kits to the point where you might find it’s the camera plus an 18-200 lens.

  • If you’re going down the all in one path – do your research.  Think about what you want to do.  Check out the manufacturer’s websites to see what’s out there: Canon, Nikon, Sigma, Pentax, Tamron, Tokina,
  • Check out reviews on the manufacturer’s websites and on the web.
  • Talk to your local camera store.
  • Check out reviews on the web: Ken Rockwell, Digital Photography Review, B&H, Adorama
  • And, once you’ve made your choice, enjoy it!

I can’t deny or argue the convenience factor of just carrying a body and one lens.  It’s something that years ago many of us dreamed of, but the quality just wasn’t there.

And now, I enjoy the guilty pleasure of carrying one body and one lens and being able to accomplish most anything.

Camera equipment for basic travel photography

Sometimes, The Frog travels lightly, and sometimes not.  This post is an outgrowth of the Buying a DSLR post, as it was part of that same discussion with a friend.  To me, travel photography means getting good results while traveling without a lot of stuff.  It’s easier these days, as the quality of all-in-one zoom lenses keeps getting better – and you can get great results if you know and work within the limitations of your lens.

My travel camera bag is about 10″x10″x6″, and divides into three “slots”.  It’s not huge – but there are times when convenience rules and I don’t want to be dragging a backpack around.  Since there’s not a lot of room for “stuff”, I have to think carefully about what I take because if it doesn’t fit in the travel camera bag, it doesn’t travel!  Camera equipment for basic travel photography isn’t always the same as the camera equipment I take when I’m on a photographic mission (such as trains or a specific landscape objective) – we’ll talk about that in the future.

Here’s a look at what’s in my “light” travel camera bag – camera equipment for basic travel photography.  This might give you some ideas about what you want, and/or how you might want to pack your camera bag for your travels.

The basics, which cover most travel photography:

(1) A Nikon D5100 body.  Compact, light, great low-light capability, and works well in the “idiot-proof” mode where it does everything or in a manual mode where I do everything.
(2) A Tamron 18-270mm f3.5-6.3 Di II VC PZD lens.  A great all-in-one zoom with stabilization, and it goes on sale from time to time!  Also comes with a great warranty.
(3) The camera’s battery charger and an extra battery.
(4) A microfiber cleaning cloth.  (Yes, T-shirts work too, but the cleaning cloth is kinder to your lens.)

The basics and indoor/low light: All of the above plus (5) a Nikon 35mm f1.8 lens.  A fast prime lens can’t be beat, especially if you’re taking pictures at night or in low light.

The basics plus: #’s 1-5 plus (6) a Nikon SB-600 external flash.  This can be used for fill flash during the day or a night/indoor flash, and it does a pretty good job throughout the zoom’s entire range.

The basics and landscape photography: (1), (2), (3), (4) and (7) a Tamron 10-24mm f3.5-4.5 Di II lens.  This lens does not have stabilizing or vibration reduction capability – so our friend the tripod often comes along with his friend the remote cable release.  If I really want to stuff the bag, the 35mm lens (5) makes the trip as well.

Good things can come from small places!


iPhone/iPad/Galaxy S4 Case Sale!

It’s Laughing Frog Images’ first summer, and time for our first summer sale!

Time to indulge yourself with an image you won’t find anywhere else, or, if you’re feeling really nice – give someone a unique gift!

iPhone 4 / 4S / 5 / 5C cases now $25.99!

Galaxy S4 cases now $25.99!

iPad cases / folios now $31.99!

Make one your own at Laughing Frog Images!

This sale ends August 31, 2014.

Remember that the printing process for these items is somewhat challenged by high-contrast scenes (for example, bright white clouds and dark areas / shadow areas in the same image).  As we’re not able to offer refunds for custom orders, choose carefully.  And, don’t be afraid to ask a question about a particular image.  We’re not going to push you to get a product that might not be all that you want it to be.  As small enterprises go, we’re as small as you can get, and we need happy customers!

My helper Ella

Sometimes, it takes me a long time to complete a post.

It’s not always writer’s block, or proofreading, or anything like that that gets me.

More often that not, it’s because of my assistant blog writer (or writers).

Here’s Ella deep in thought – or sleep – and quite content either way.  She likes being in the middle of the action!

ella at work on the keyboard


And that’s why sometimes it takes a while to write a post.  Or edit an image.  Or to scan slides.  Or to get much of anything done.

And, that’s not necessarily a bad thing…

Buying a DSLR camera

Recently, The Frog was asked by someone about buying their first DSLR camera.  Their kids are growing up, and they sensed a need/purpose to get a better camera to capture family moments and memories.  That got The Frog’s brain cells going, and after thinking about it, The Frog offered his advice, starting with the basics as DSLRs were new to them.  As it’s a worthy topic, it’s been expanded upon and organized a bit better for your information and consideration.

A DSLR camera is a Digital Single Lens Reflex camera.  Basically, it looks like a 35mm film camera that many of us grew up with, and has interchangeable lenses.  There are also many worthy “hybrid” digital cameras on the market – they look like a DSLR, but you can’t change lenses.  There are so many of those on the market that we’re not even going to touch on that subject!

Buying a DSLR camera

So… you want a DSLR.  The next question is “which brand?”  Major DSLR manufacturers include: Canon, Nikon, Pentax, Sigma and Sony.  Most have a range of products over a fairly wide price range.  In general, as price goes up, so do available features and capabilities.  Where do you start?

First – think about what you want the DSLR to do, and what you want to do with it.  Do you want to simply click the shutter button and be done with it?  Do you want to be able to set the shutter speed or aperture and let the camera do the rest?  Do you want to have full manual control?  Do you want to be able to do low-light photography without a flash?  All of these answers will factor into your decision.

If you want to read some impartial reviews before you go to your local camera store or after looking and/or before you purchase, check out Ken Rockwell’s site or Digital Photography Review for information and ideas.  Reviews can also be found on the manufacturer’s websites and retailer websites.

If you or someone in your immediate family has a Nikon or Pentax 35mm film camera, you might want to focus your efforts (pun not intended, but it works!) on a Nikon or Pentax DSLR – many/most of their “old” lenses will work on their new DSLR cameras.  They probably won’t auto-focus or couple with the exposure meter – but they will work!  For those of you (like me) that have Canon 35mm film cameras, well…, you can still shoot film with them.

Do you want new?  Used?  Refurbished?  The Frog’s digital equipment is a mix of new and factory-refurbished “stuff”.  New is new, and needs no explanation.  There are great used products out there as well, as many people upgrade their cameras like they upgrade their phones when something new comes out.  Factory-refurbished items are available from the manufacturer’s websites and some retailers, and are cheaper than new, but often with a shorter warranty.  You can add to your “stuff” more economically and faster if you’re willing to consider used or refurbished equipment.

Then, after your thought and research process, I’d recommend a visit to your local camera store and not a big box retailer.  Local camera stores give you the opportunity to get hands on with the cameras and get your questions answered – and your questions are probably better answered by someone in a camera store than someone who may be selling a refrigerator one moment and then a camera in the next.  There’s a perception that local camera stores are overpriced which isn’t necessarily true – manufacturers have a great deal of control over pricing these days, so your local camera store is going to either have the same price as the big box retailer or be extremely competitive.  We all need local businesses to survive and thrive – so pay your local camera store a visit!  The Frog’s local camera store in the Los Angeles area is Samy’s Camera.  (The Frog also admits to purchasing on the internet, and he’s been buying from B&H Photo – Video for over 20 years.)

Once you’re at your local camera store, get the equipment in your hands and see how it handles and feels.  Ask if the store rents equipment – that gives you a chance to see how it performs as well.  Your final decision will be based on feel, handling, and results if you can rent to try as much as it will be on price.

Upcoming posts will talk about lenses and what’s in the Frog’s camera bags.  Those posts may give you more to think about as you consider a DSLR purchase.


Upcoming Blog Topics

Upcoming blog topics on Laughing Frog Images:

  • Buying a DSLR.
  • What’s in my “travel” camera bag?
  • What’s in my “serious” camera bag?
  • All-in-one lenses vs. Prime lenses.
  • Pocket cameras.
  • Phone photography gets serious.
  • The Gallery/Store and our product partner.
  • Scanning and growing the Galleries.
  • The smells of photography are gone.
  • The real Frog.
  • Photography, Food and Lodging. (Yes, they go together!  This will be an ongoing series.)
  • Our products and our philosophy.
  • Gift ideas.

Take a minute and subscribe by following the link below so you don’t miss upcoming blog topics and posts!

If someone you know is thinking about buying or replacing a camera, or simply likes photography, we’d appreciate you sharing this with them!

new gallery screenshot